Comprehensive Guide & Technical Breakdown
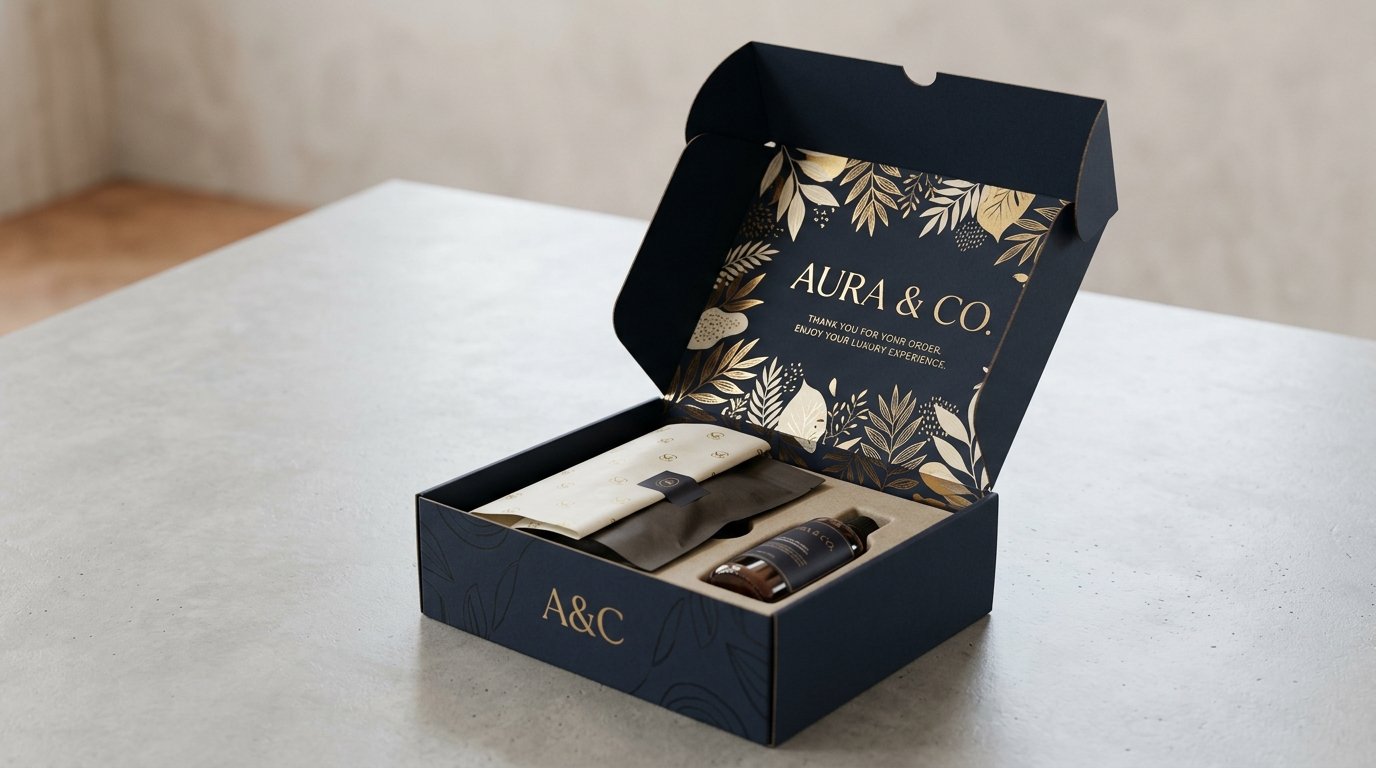
Designing packaging artwork is a multi-step process that combines creative design with precise technical requirements. Here's a complete guide:
Step 1: Get the dieline
Request the structural dieline (template) from your packaging supplier. This is the blueprint that shows where to place your artwork.
Step 2: Set up your document correctly
- Software: Adobe Illustrator (preferred), Photoshop, or Affinity Designer
- Colour mode: CMYK (not RGB)
- Resolution: 300 DPI minimum for raster images
- Include dieline layer as a guide
- Hierarchy: Main message visible at a glance (product name, brand)
- Readability: Text minimum 6pt, avoid script fonts at small sizes
- Bleed: Artwork must extend 3mm beyond cut lines
- Safe zone: Keep critical content 5mm inside cut lines
- Panel continuity: Background patterns/colours must align at fold lines
- Convert all fonts to outlines/curves (prevents font substitution)
- Embed or link all images
- Remove hidden layers and objects
- Ensure rich black for large black areas: C:60 M:40 Y:40 K:100
- Standard black for small text: K:100 only
- Export as PDF/X-1a or PDF/X-4
- Include 3mm bleed and printer marks
- Turn off the dieline layer in your export
- Designing in RGB (colours will shift when converted for print)
- Using thin fonts at small sizes (will become illegible when printed)
- Ignoring the fold lines (design elements cut mid-panel look broken)
- Low-resolution logos (always use vector AI/EPS logos for print)
Step 3: Design principles for packaging
Step 4: Technical requirements
Step 5: Prepare for export
Common mistakes to avoid: